DriverPack Solution Expert Mode is the part of the program most people never open, and it is the part that decides whether a driver run is tidy or messy. Here is how to switch to it, read what the list shows, skip the bundled extras, and install only the drivers your PC really needs. It takes a few extra minutes.
What Expert Mode Actually Changes
The default launcher versus the manual view
When you run the DriverPack Solution Online Installer for the first time, the main screen is built around one big button. Click it and the program scans, picks a set of drivers, usually proposes some extra software, and starts installing. That is fine for a quick repair on a spare machine. It is a poor fit if you care about what ends up on the system.
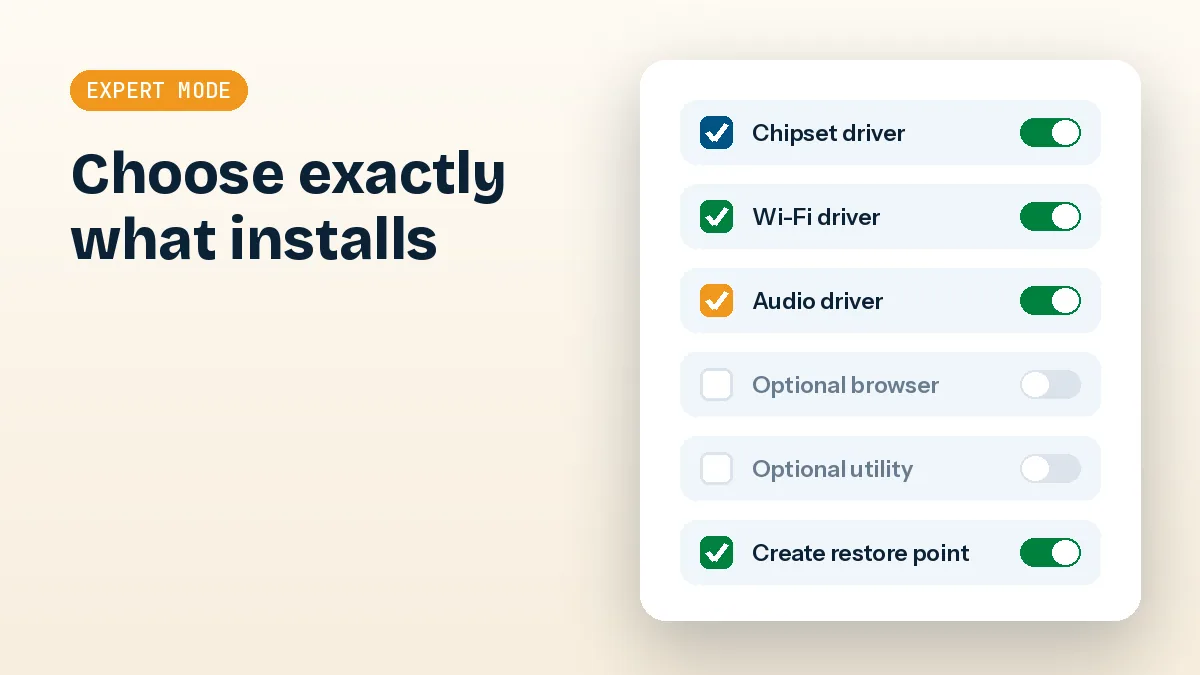
Expert Mode swaps that one-click flow for a proper list. You see each device the scan found, the driver the database wants to install, and a checkbox beside it. You also get a separate area for the bundled programs, which are ticked by default in the simple view. In practice, the mode gives you three things: control over software, control over individual drivers, and a bit more information before anything is written to disk.
The layout and wording shift between releases, so treat the labels below as a guide rather than a screenshot. The ideas stay the same.
Switching it on
Get the launcher through the normal DriverPack Solution download page, then run it as administrator. Wait for the initial hardware scan to finish, because the options only appear once the program has something to show. Look near the bottom of the main window for a link or button labelled Expert Mode, and click it.
If you cannot find it, the usual reasons are boring ones. The scan has not completed, the window is too small to show the footer, or the interface has been rearranged in the build you downloaded. Maximise the window first and give the scan a minute or two. On a slow hard disk with an old Windows install, it can take longer than you would expect.
The same view is available if you use an offline pack instead of the launcher. The DriverPack Solution Offline download scans locally and lists what it can match from its own files, so the workflow below applies to both.
Reading the Driver List Properly
The status column
Every row in the list carries some sort of status. Different builds word it differently, but you will meet roughly three states. One says the driver is missing or the device is unrecognised, another says an update is available, and the third says the installed driver is fine or current. Rows needing action are normally ticked automatically.
The status is the program's opinion, not a fact. It compares what Windows reports with what is in the database. If the database holds a newer package for the same hardware ID, you get an "update" flag, even when your current driver works perfectly and the new one adds nothing you would notice.
Comparing versions and dates
This is where the experienced approach differs from the click-and-hope one. For each entry, look at the installed version and date against the proposed one. A few rules of thumb I use:
- A missing driver for an unknown device is almost always worth installing. Yellow-triangle devices in Device Manager are the clearest case.
- A newer version of a chipset, audio or LAN driver is usually safe, but not urgent if the old one works.
- A proposed version that is older than what you already have should be unticked. Downgrades happen when the database lags behind a vendor release.
- Version numbers that look unrelated to your vendor's numbering deserve a second look. Vendors reuse generic packages, and a package may be correct while looking odd.
Dates are only a rough signal. A driver from several years ago can be the right one for old hardware, and a recent one can be wrong for your exact laptop revision.
Entries worth stopping on
Some rows deserve extra care. Graphics drivers on laptops with switchable graphics are the classic trouble spot, because the OEM often ships a customised package that ties the Intel and NVIDIA or AMD parts together. Replacing it with a generic one can leave you with a black screen, a missing brightness control or a card that never wakes up. The same applies to touchpad, fingerprint reader and power-management drivers on branded notebooks.
My habit is simple. On desktops, let the chipset, network and audio entries through and handle the graphics card from the vendor. On laptops, untick anything that touches graphics, power or input unless the device is actually broken.
Turning Off the Bundled Software
Finding the software tab
The online launcher normally offers additional programs such as browsers, utilities or other third-party apps, and in the simple view these may be ticked before you even look. Expert Mode exposes a software section, often a separate tab, where each item has its own checkbox. Open it before you start any install, not after.
Untick everything you do not recognise or did not ask for. If the interface offers a way to clear all selections in one go, use it, then scroll the list to confirm nothing was missed. Offers change from time to time, so do not assume the list looks the same as it did last month.
Why it matters
Bundled offers are the reason some antivirus products label the launcher a potentially unwanted application. The label is about the extras and the installer behaviour, not a claim that the drivers themselves are harmful, but the practical effect is the same: unwanted programs on a clean machine are annoying to remove, and a warning from your security tool makes people nervous.
Skipping them keeps the install smaller, keeps your browser settings alone and reduces the odds of a security prompt interrupting the run. It also leaves you with a system that is easier to troubleshoot, since the only things that changed are drivers.
Tip: if a security tool blocks the launcher, do not just switch protection off. Check the file is the one you downloaded, scan it, and only add an exception if you are comfortable with the result.
Choosing Which Drivers to Install
A sensible installation order
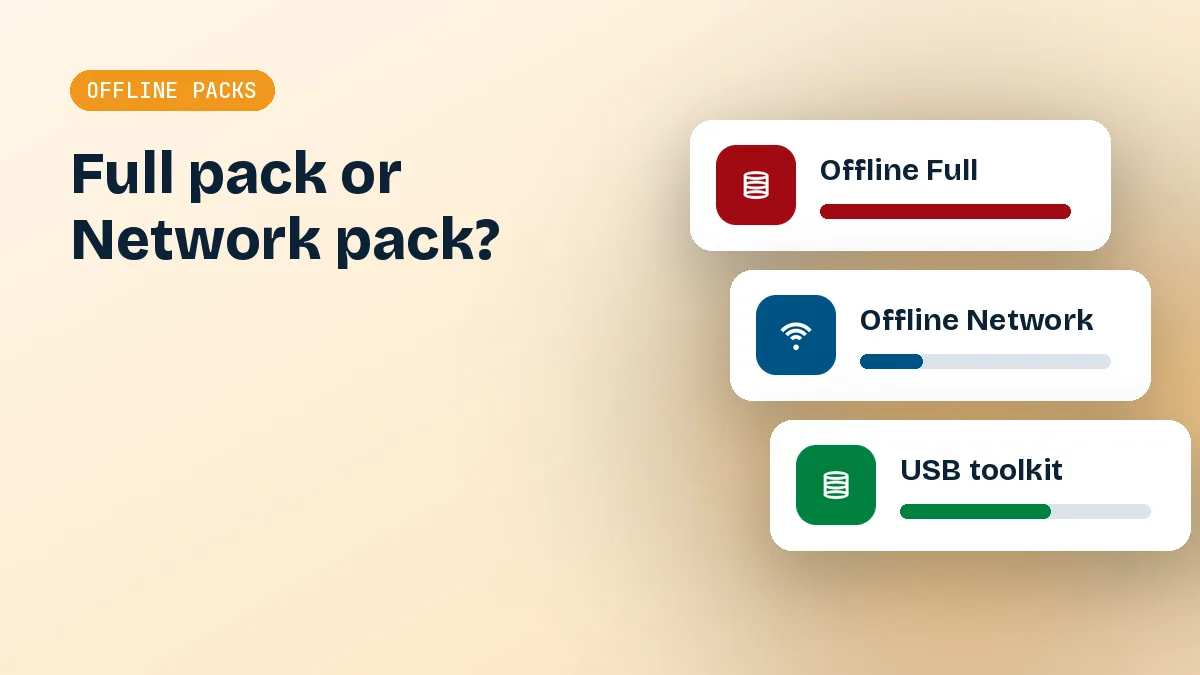
Installing everything ticked in one pass works, but the order matters more than people think. If the machine has no internet, the network driver goes first. The DriverPack Offline Network pack exists for exactly this problem: it is small, holds common LAN and Wi-Fi drivers and gets a freshly installed PC online so the rest can follow. If you have the full offline set, the same logic applies inside it.
After that, I go roughly in this order:
- Chipset and storage controller drivers, which give Windows correct information about the board.
- Network adapters, both wired and wireless.
- Audio and card readers.
- Bluetooth and USB-related extras.
- Graphics last, usually from the vendor rather than the database.
Reboot when the program asks. Skipping a requested restart is a reliable way to end up with half-installed drivers and confusing results.
Protection and the restore point
Before changing drivers, make sure you can undo it. DriverPack Solution can create a restore point, and Expert Mode is where the related protection options live. Look for a setting about creating a restore point before installation and leave it enabled. If you cannot find it, create one yourself in Windows: search for "Create a restore point", pick the system drive and click Create.
Restore points only help if System Protection is turned on for the drive. On some Windows 10 and 11 machines it ships switched off, so check. A restore point rolls back drivers and system files, but it does not protect your documents, which is why a quick copy of anything important is still worth doing.
If something goes wrong, boot into Safe Mode if needed, open System Restore and choose the point created just before the run. Device Manager also lets you roll back a single driver from its properties window, which is gentler when only one device misbehaves.
A Clean-Install Checklist for Any Windows Version
Before you run it
The program is aimed at Windows XP through 11, in 32-bit and 64-bit editions, and the same preparation applies whether it is DriverPack Solution Windows 7 on an older office PC or DriverPack Solution Windows 11 on a recent build. On 64-bit systems such as DriverPack Solution Windows 10 64 bit or DriverPack Solution Windows 7 64 bit, make sure you download the right package and let it detect the architecture itself.
- Back up files you cannot replace.
- Confirm System Protection is on and make a manual restore point.
- Note which devices already work, so you can spot regressions.
- Disconnect unneeded USB gadgets, which can confuse detection.
- Close other installers and pause Windows Update if it is mid-download.
- Run the launcher as administrator, open Expert Mode and clear the software list.
On older systems such as Windows 7, also check that the machine has current service packs and certificate updates. Missing ones can cause signature errors that look like driver faults but are really a platform problem.
After the install
Restart, then open Device Manager and look for yellow marks or unknown devices. Run the scan again in Expert Mode, because a second pass often finds devices that only appeared after the first set of drivers loaded. Check that sound plays, Wi-Fi connects, the display resolution is correct and sleep and resume still behave.
Finally, look at Installed Apps and remove anything you did not choose. If something slipped through, uninstall it now while you remember it arrived. Keep the original installer, or the offline zip file you used, so you can repeat the run later. If you are working from a DriverPack Solution offline zip file, extract it to a short path on a local drive instead of running it from inside the archive, as unpacking errors waste a lot of time.
Is It Worth the Extra Minutes?
Yes, for most people. Expert Mode costs perhaps five minutes of reading and ticking, and what you get in return is a driver install you can explain afterwards. You know which software was declined, which drivers changed and where the restore point sits if you need it.
It will not turn a questionable driver into a good one, and it does not replace the vendor's own support page for graphics and laptop-specific hardware. Think of it as a better way to use a tool that is otherwise a bit blunt. If you want to see how it fits alongside other approaches, the guides section covers the rest of the process.